Setting up GeoServer on Ubuntu

A lot has happened since my last post. The stress of launching a product is nerve wracking to put it mildly. Working 80 hour weeks became the norm - between finding partners, marketing and working on the product on top of my actual job, 7 days in a week didn't seem enough.
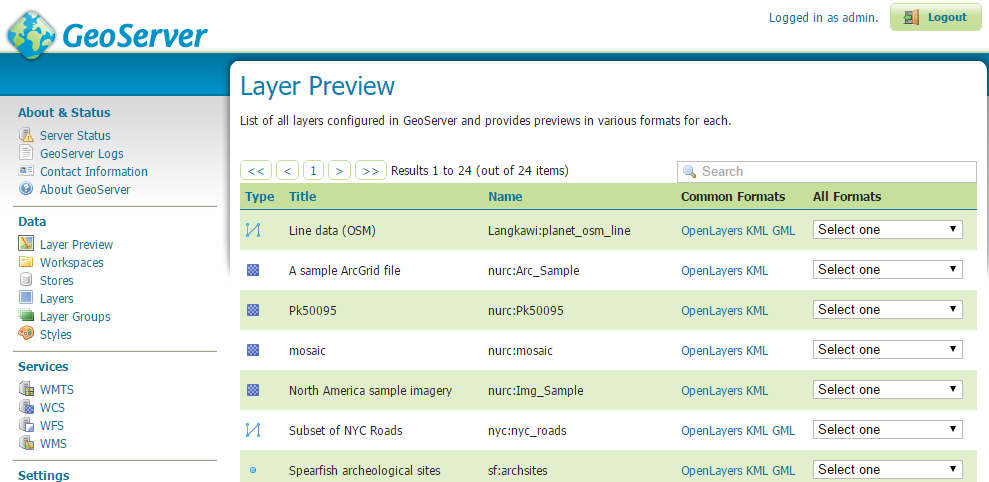
But that's a post for another time - today's post is a short tutorial on setting up a GIS server for webmapping.
Webmaps as a service like Mapbox and ArcGIS Online offer an easy way for companies to delve into GIS with minimal investment. However there may be privacy concerns, high cost/low speed with large datasets and limitations beyond simple displays that make these services inappropriate.
If these resonate with you, you will likely need your own GIS server. In the open source world, the two major GIS servers are MapServer and GeoServer. Both are mature and used in production - in fact, Mapbox uses MapServer, and Boundless Spatial, one of the main contributors to GeoServer, have deployed GeoServer to various organisations and government bodies.
I'd be remiss to not mention the feature-rich ArcGIS Server but unless you've got budget to spare, this isn't really an option.
In this tutorial, we'll go through the steps for installing GeoServer on Ubuntu and getting it to run via Tomcat. The reason for this tutorial is that setting up GeoServer following the best practices is strangely involved with various Java libraries, namely Java Advanced Imaging (JAI) and JAI Image I/O Tools.
Installing Java Runtime Environment (JRE)
As of writing (Nov 2016), the stable release of GeoServer is 2.10.0 and requires Java 8. Either JRE or Java Development Kit (JDK) is fine (the JDK includes the JRE) and both Oracle JDK and OpenJDK will work.
The instructions below will install Oracle JDK 8.
Install JDK 8
sudo add-apt-repository ppa:webupd8team/java
sudo apt-get update
sudo apt-get install oracle-java8-installer
If you have multiple versions of Java installed, you may need to specify the version you want via:
sudo update-alternatives --config java
Then select the ID of the JDK we just installed.
Ref:
Install Oracle Java 8 in Ububntu via PPA - Webup8
How to install Java with apt-get on Ubuntu 16.04 - Digital Ocean
Installing native JAI and ImageIO extensions
These are optional but recommended for better performance. This is also the main point of this tutorial - information on these two packages are either outdated and/or refer to broken links.
The packages are hosted at OpenGeo and even though they have not been updated from 2006, they are fine.
Install native JAI
The following code downloads and installs the JAI extension.
wget http://data.opengeo.org/suite/jai/jai-1_1_3-lib-linux-amd64-jdk.bin
sudo cp ~/jai-1_1_3-lib-linux-amd64-jdk.bin /usr/lib/jvm/java-8-oracle/
cd /usr/lib/jvm/java-8-oracle/
sudo sh ./usr/lib/jvm/java-8-oracle/jai-1_1_3-lib-linux-amd64-jdk.bin
Install native ImageIO
The following code downloads the ImageIO binary and also 'fixes' it. I couldn't get it to work without this fix, and the alternative did not work for me (see below).
wget http://data.opengeo.org/suite/jai/jai_imageio-1_1-lib-linux-amd64-jdk.bin
sed s/+215/-n+215/ jai_imageio-1_1-lib-linux-amd64-jdk.bin > jai_imageio-1_1-lib-linux-amd64-jdk-fixed.bin
sudo cp ~/jai_imageio-1_1-lib-linux-amd64-jdk-fixed.bin /usr/lib/jvm/java-8-oracle/
cd /usr/lib/jvm/java-8-oracle/
sudo sh ./usr/lib/jvm/java-8-oracle/jai_imageio-1_1-lib-linux-amd64-jdk.bin
There is an alternative that worked for some other users, and has the benefit of not modifying the original binary:
export _POSIX2_VERSION=199209
Then copy the downloaded version to the Java folder and run it.
Ref: JAI Tail cannot open 215 for reading - JGrassTechTips
Installing Tomcat
Setting up Tomcat is is beyond the scope of this tutorial. I'd recommend following this excellent article by Digital Ocean instead.
Come back when you finish, I'll wait right here :)
Installing GeoServer
Finally on to GeoServer - and it is as simple as putting the Web Archive (.war) file into Tomcat's webapp directory.
Assuming you have followed the Digital Ocean tutorial prior, the following instructions would set up GeoServer to run in Tomcat: Download Geoserver Web Archive (war) and unzip it:
wget http://sourceforge.net/projects/geoserver/files/GeoServer/2.10.0/geoserver-2.10.0-war.zip
unzip geoserver-2.10.0-war.zip -d geoserver
sudo cp geoserver/geoserver.war /opt/tomcat/webapps/geoserver.war
Tomcat Web Application Manager, you may need to start the application.
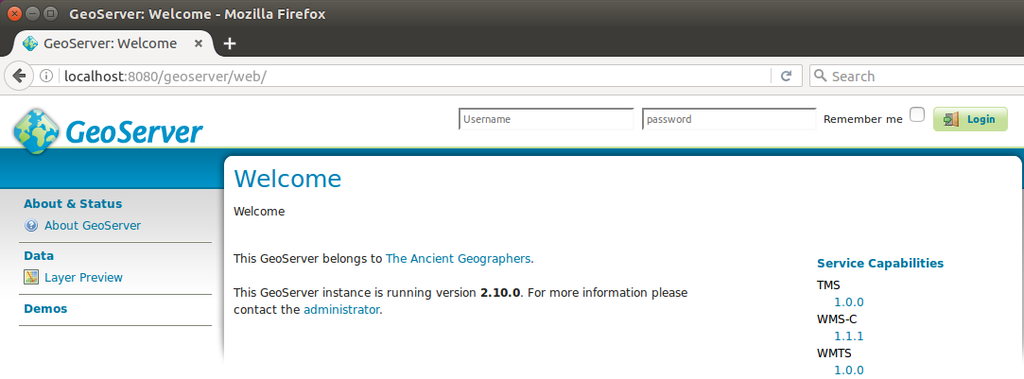
If you navigate to http://localhost:8080/geoserver/web/ you'll be greeted by the GeoServer home page - success!

Now on to the real work of creating a webmap...
Last modified Nov. 21, 2016, 8:32 p.m.
Published Nov. 21, 2016, 8:12 p.m.
blog comments powered by Disqus
